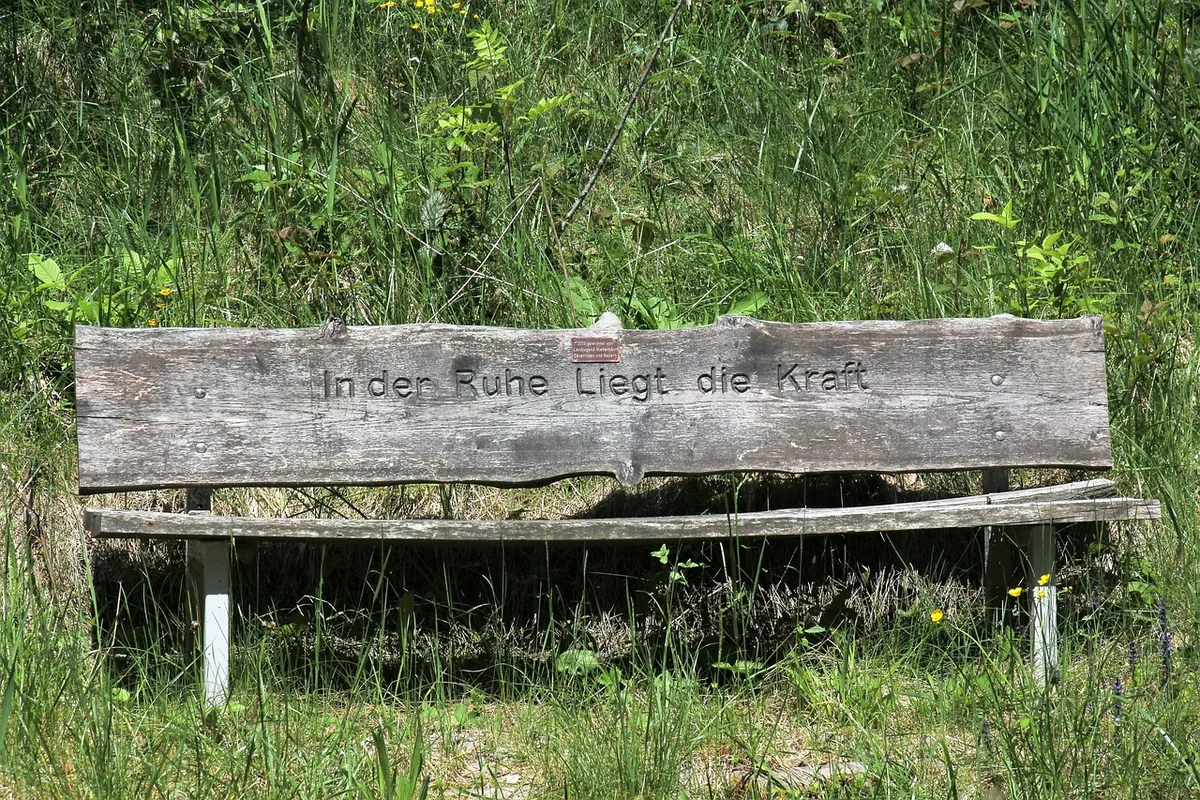
A tired pine bench is one of the most forgiving pieces of furniture you can learn on. It is usually solid, rarely precious, and perfectly happy to take paint or stain without much fuss. Whether you have dragged one out of a shed, inherited it from a relative, or paid a few pounds for it at a car boot sale, the chances are it has good bones under the grime.
The gap between a finish that looks properly rustic and one that simply looks wrecked is almost entirely preparation. Rush the sanding, skip the cleaning, and the paint will start lifting within a season. Give it a careful afternoon, and you will have a bench that earns its place in the hallway, the kitchen or the garden for years.
Look the Bench Over Before You Touch It
Start by turning the bench upside down on a table or a pair of trestles. Wipe it down and have a proper look. Press your thumb into the feet and the base of the legs: if the wood gives, you have rot, and no amount of paint will fix that. Check the joints for movement and the rails for splits.
A wobbly bench is not a disaster. Wood glue, a clamp and an overnight wait will sort most loose joints, and a diagonal brace screwed underneath adds years of life to a bench that will be sitting outdoors. Do the structural work first. It is dispiriting to finish a beautiful paint job and then discover the back rest moves.
Look closely for woodworm, which shows as small round holes with a fine dust beneath them. Treat any active infestation before you finish the wood, and keep the bench away from other furniture until you are satisfied it has stopped.
If the bench has old paint on it and it is more than a few decades old, treat the coating with respect. Assume it might contain lead, avoid dry sanding it in a closed room, wear a suitable mask, and use a chemical stripper or a wet sanding method rather than creating clouds of dust. If you are unsure about the condition of the timber or the coatings, it is worth asking a specialist before you begin.
What You Will Need
- Sandpaper in 80, 120 and 180 grit, plus 320 for between coats
- A sanding block, or an orbital sander if you have one
- A dust mask and eye protection
- Wood filler and knotting solution or shellac for resinous knots
- Sugar soap or warm soapy water, and a lint-free cloth
- Methylated spirits for a final wipe-down
- Masking tape, a decent brush and a small foam roller
- Your chosen paint or stain, plus a protective topcoat
Sanding Without Creating Extra Work
Sanding is the part most people rush, and it is the part that decides how the finish looks. Work through the grits rather than jumping straight to a fine paper. Coarse paper scratches the surface deliberately; finer paper removes those scratches. Skip a step and you will see the marks under a thin stain.
Go with the grain
Always sand along the length of the timber, not across it. Cross-grain scratches are almost impossible to hide on pine. Use a block for flat areas so you do not dish the surface with your fingers, and go gently around edges and any turned legs. You want the edges slightly softened, not rounded off.
Clean between grits
Wipe the dust away with a cloth or brush before changing paper, otherwise you grind the old dust back into the wood. When you have finished with the 180 grit, wipe the whole bench with a cloth dampened with methylated spirits. This raises the grain slightly and shows you exactly where you have missed a patch. Let it dry, then give it a light pass with 180 again.
Tip: pine knots bleed resin for years. Seal them with knotting solution or a coat of shellac before painting or staining, or you will watch a brown stain creep through your finished work.
Paint or Stain?
Both suit pine, but they do different jobs. Stain soaks in, shows the grain and looks warmer and older. It also highlights every dent and repair, which is either charming or frustrating depending on the bench. Paint sits on top, covers filler and old marks, and gives you far more freedom with colour.
Ask yourself where the bench is going. A bench in a porch or a garden needs an exterior-grade paint or an oil-based finish designed for outdoor use. A bench in a bedroom or hallway can wear almost anything, though a hard-wearing eggshell will cope better with daily use than a soft chalk finish left unwaxed.
Painting for a Rustic Finish
- Wipe off all dust and let the bench dry completely.
- Apply a primer or a first coat thinned slightly, especially over bare knots and filler.
- Brush or roll on two thin coats rather than one thick one, and let each dry fully.
- Sand lightly with 320 grit between coats to knock back any brush marks.
- Distress the edges once the final coat is dry — arm rests, the front lip of the seat and the corners where hands and hips land.
- Seal the whole thing with wax or a clear varnish so the bare wood showing through does not soak up water.
Keep the distressing believable. Rub back where a bench would genuinely wear, not evenly along every edge, and stop before the piece looks attacked. A little goes a long way.
Staining a Pine Bench
Pine takes stain unevenly, and that blotchiness catches people out. A pre-stain conditioner, or a first coat of stain thinned and wiped back immediately, evens things out considerably. Test on the underside of the seat before committing to the whole bench.
Apply stain with a cloth or brush, working in small sections, then wipe the excess away with the grain. Two thin coats give a more controlled colour than one heavy one. For a hard-wearing finish on a bench that will be used daily, follow with Danish oil, a hard wax oil or a matt polyurethane, and de-nib lightly between coats with fine wire wool.
Let It Cure and Keep It Looking Good
Give the finish time. Solvent-based paints and oils need days, not hours, to harden properly, so keep the bench out of the way and avoid sitting on it sooner than the tin advises. If you have used a strong-smelling product, let the bench air in a garage or shed before bringing it indoors.
After that, maintenance is minimal. Wipe the bench with a damp cloth rather than a soaking one, and refresh a waxed or oiled finish once a year with a thin coat. Outdoor benches will want recoating more often, particularly after a hard winter, and it helps enormously to keep the feet out of standing water — a couple of rubber feet or a paving slab underneath will do more for the bench's lifespan than any product you can buy.
Photo: Potztausend / Pixabay