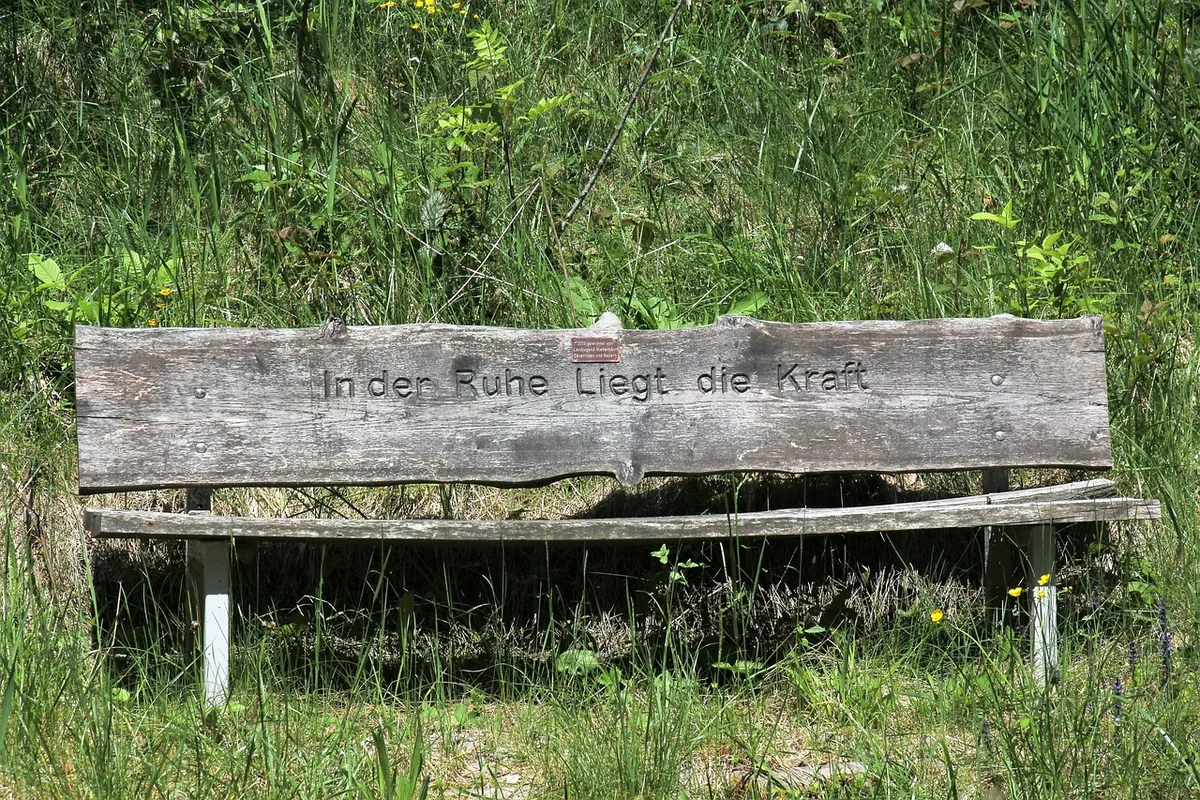
A bench that has spent a few seasons outdoors will usually turn a soft silver-grey. Plenty of people assume the wood is finished and start looking at replacements. Usually it is nothing of the sort. Weathering starts at the surface, where sunlight breaks down the lignin that holds the wood fibres together, and the grey you see is a thin, weakened layer sitting on sound timber.
What counts is what lies underneath. If the frame is solid and the joints are tight, a weekend of cleaning, sanding and re-oiling will bring the colour back and add years of use. Work in the order below and you will get a better result than attacking it with a pressure washer and a hopeful tin of varnish.
Start with an honest inspection
Before anything gets wet, run your hands over the whole bench and press a small screwdriver into any suspicious spots. Pay attention to the feet, the ends of the slats, the base of the legs and anywhere water sits after rain. Firm wood is fine. Wood that gives easily, crumbles or feels spongy has started to rot.
Small patches of rot can be cut back to sound timber and filled with an exterior-grade wood filler. If a leg or a main rail is soft right through, though, no finish will save it and replacement parts are the realistic answer. Check the fixings at the same time: tighten what has worked loose, replace rusted screws and bolts, and deal with any wobble now rather than after you have oiled the wood.
What you will need
- A stiff nylon brush, a bucket and warm water with a little washing-up liquid
- A wood restorer or cleaner — oxalic-acid products are the traditional choice for grey timber
- Sandpaper in a couple of grades, roughly 80–120 for rough areas and 180 for finishing
- Wire wool or a sanding pad for curves, mouldings and tight corners
- A scraper for any flaking finish
- Rubber gloves, eye protection and a dust mask
- An exterior wood oil, stain or preservative suited to your bench's timber
- Brushes or lint-free cloths for applying it
A pressure washer has its place on a very dirty bench, but keep the nozzle well back and the pressure low. Water driven into end grain and joints does more harm than the dirt it shifts.
Cleaning off the grey
Pick a mild, dry day and start with the soapy water and stiff brush. This lifts dirt, algae and bird droppings, and it is often enough to show you how much grey is really there. Rinse well and let the wood dry.
Where the grey stays put, a wood restorer earns its keep. Apply it with a brush as the instructions direct, keep the surface wet for the stated time, and do not let it dry in strong sun. These products are acidic, so wear gloves and eye protection, work outside, and keep runoff away from beds, ponds and pets. Rinse thoroughly afterwards.
Then leave the bench alone for two or three days of good weather. Damp wood will not take oil properly, and any moisture trapped under a finish is a recipe for mould and rot.
Preparing the surface
Sand along the grain, never across it. Start with the coarser paper on any remaining grey or raised grain, then finish with 180 grit for a surface that feels smooth under the hand. Go gently around edges and the ends of slats, where it is easy to round off a crisp line. Wire wool works better than paper on turned arms and curved backs.
Wipe the dust off with a cloth, then go over it again — dust left in the grain will show through a clear finish and can stop oil soaking in.
Joints, gaps and hidden faces
Joints collect the most dirt and hold the most moisture. An old toothbrush, or a thin scrap of wood wrapped in cloth, will clear the gaps between slats and where the back meets the seat. Do not prise joints apart to reach inside them; you will loosen the bench more than you clean it.
Once everything is dry, treat the hidden faces with the same protection you use on the visible wood — the underside of the seat, the inside of the leg joints, the back of the arms. Rot nearly always starts somewhere you cannot see.
Protecting the wood
Clear oil is the simplest option. It soaks in, feeds the timber and is easy to top up, but it will not hide deep marks and it wants recoating at least once a year. A tinted oil or exterior wood stain adds colour, which helps when the grey has gone further than sanding can reach. Paint and varnish give a smooth, coloured finish, but they crack and peel in time and are hard work to strip — if your bench is already painted, stay with paint.
Whichever you choose, apply thin coats with a brush or cloth, working along the grain. Two or three coats on the surfaces that face the weather, one on the hidden ones. With oil, wipe off anything still sitting on the surface after twenty minutes or so; puddles turn tacky and attract dirt. Let each coat dry as the tin advises, and sand lightly between coats if the surface feels rough.
Timing matters more than technique. Aim for a dry day with the temperature comfortably above 10°C, work in the shade rather than full sun, and make sure no rain is due for at least a day.
Keeping it that way
Restored wood stays restored with very little effort:
- In spring, wash the bench with warm soapy water, check the fixings, and touch in any bare patches with oil.
- In autumn, clear fallen leaves off the seat and away from the feet, then give the exposed surfaces a light coat before winter.
- Every year or two, lift the bench or move it slightly so the feet are not sitting in permanently damp ground. Slabs or rubber feet help.
Let the wood breathe if you cover it. A plastic sheet tied down tight traps condensation and encourages mould; a breathable cover, or a move into a shed or garage, is better.
If rot has reached the structural parts, or if the bench is old and valuable, it is worth talking to a furniture restorer before you sand anything. A repair that suits an antique is not the same as one that suits a modern hardwood bench.
Photo: ReinhardThrainer / Pixabay